
 +86-18343147735


0102030405
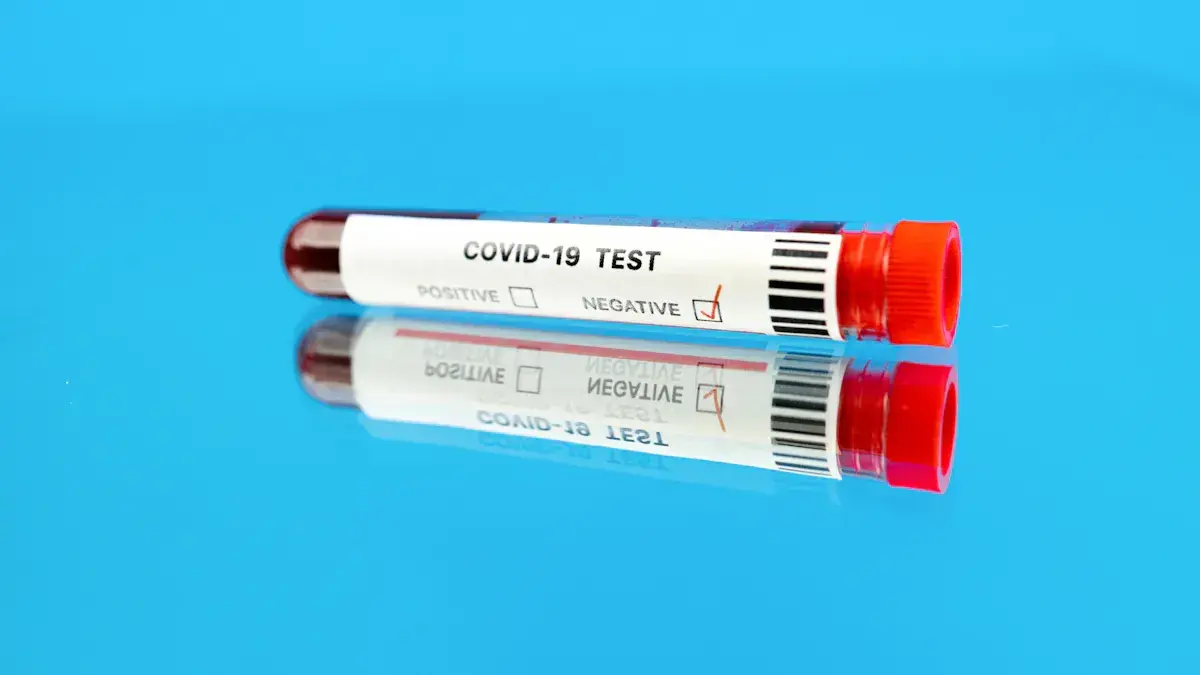
Step by Step Guide to Using Urine Reagent Test Strips at Home
2026-04-13
You can easily use a Urine Reagent Test Strip at home to check for health problems. These strips help you spot signs of urinary tract infections, kidney disease, diabetes, or liver function issues. You do not need special skills. You will find the process safe and straightforward.
Key Takeaways
- Always wash your hands and check the expiration date before using a urine reagent test strip. This ensures accurate results and prevents contamination.
- Collect a clean midstream urine sample for the best accuracy. Avoid using samples that have been at room temperature for more than two hours.
- Follow the timing instructions carefully when reading results. Each test pad may require different wait times to ensure you get the correct readings.
Using Urine Reagent Test Strip
Preparation Steps
Before you begin, make sure you have everything you need. Start by washing your hands with soap and Water. Dry them well. This step helps prevent germs from getting on the test strip or into the urine sample. Next, check the expiration date on your Urine Reagent Test Strip container. Using expired strips can give you false results. Look for signs like discoloration or brittleness. If you see these, do not use the strip.
- The expiration date shows the last day the manufacturer guarantees the strip will work well.
- Do not use strips past this date. Their accuracy is not certain.
- Strips that look odd or have changed color may not give correct results.
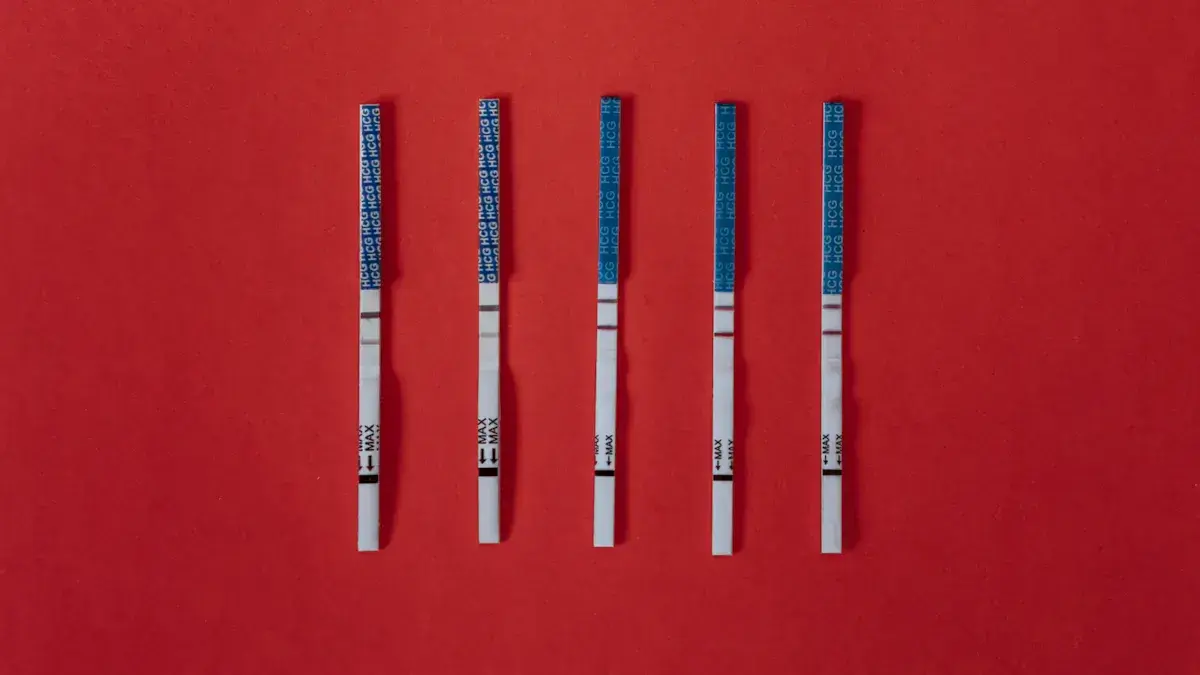
Take one strip from the container. Close the lid tightly right away. This keeps the other strips safe from air and moisture. Hold the strip by the end that does not have the test pads. Avoid touching the test area.
Tip: Always store your Urine Reagent Test Strip container in a cool, dry place. Humidity can damage the strips.
Collecting and Handling Sample
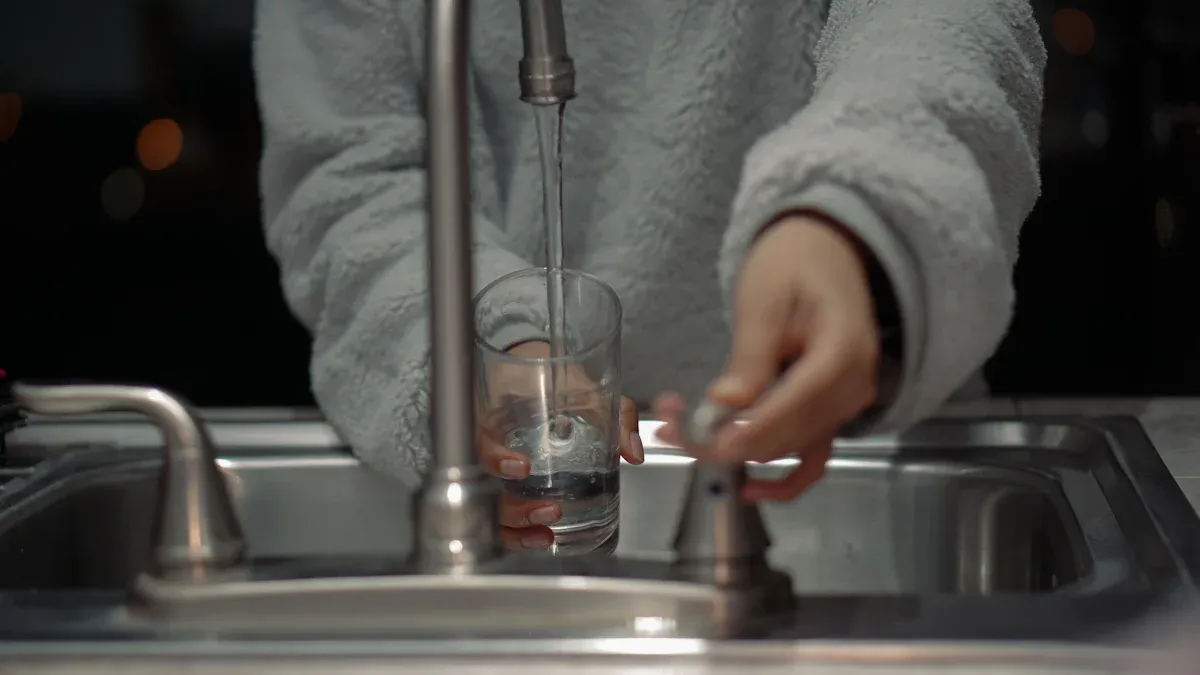
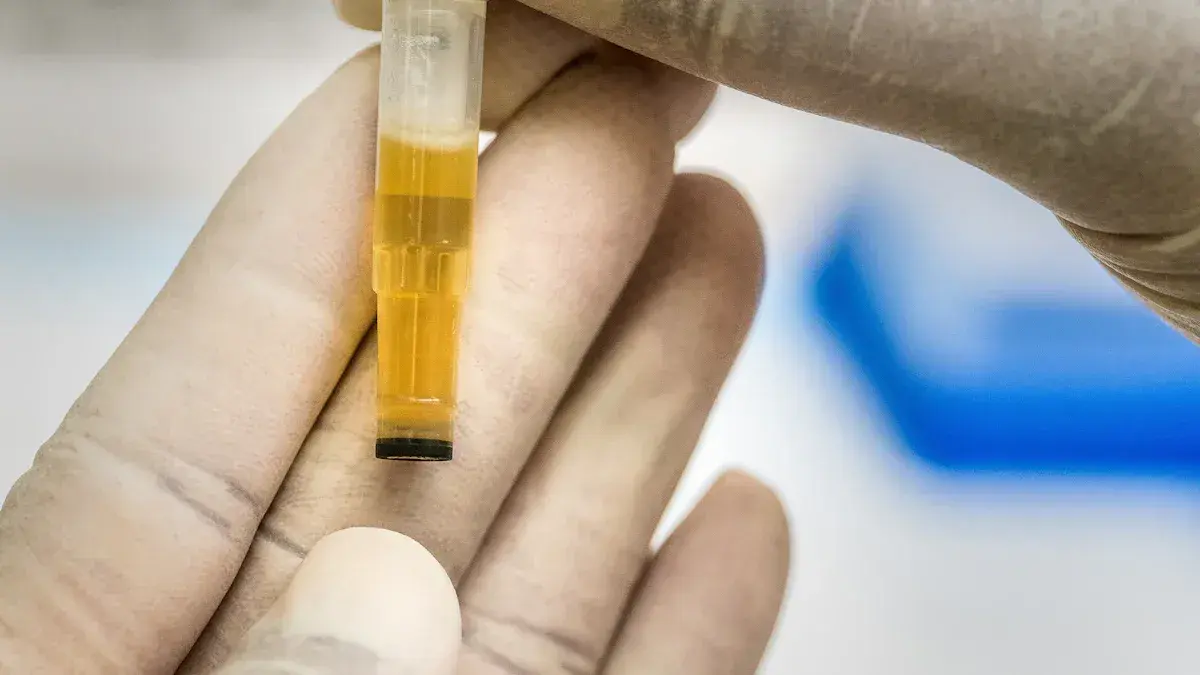
You need a clean urine sample for the test. The best way is the clean-catch method. First, clean the area around your urethra. Then, start urinating and let a small amount go into the toilet. Next, collect the midstream urine in a clean, dry container.
Other ways to collect urine include using a sterile urine bag or, in special cases, a catheter. For home use, the clean-catch method works best. Always use a fresh sample. If you cannot test right away, keep the sample in the fridge. Do not use a sample that has been at room temperature for more than two hours. Old or contaminated samples can change the test results.
- Fresh samples give the most accurate results.
- If you wait too long, bacteria can grow and change the urine.
- Non-sterile containers or dirty hands can contaminate the sample.
- Note: Try to test the urine within one hour after collecting it. This helps avoid errors from changes in the sample.
Dipping and Timing
Now you are ready to use the Urine Reagent Test Strip. Dip the test pads into the urine for about 2 seconds. Do not dip the strip vertically or leave it in the urine for too long. Remove the strip and tap it gently on the side of the container to remove extra urine. Lay the strip flat on a clean, dry surface.
Timing is very important. Most results appear within 30 seconds to 2 minutes. Each test pad may need a different amount of time. For example, glucose results may be ready in 30 seconds, but leukocyte results can take up to 2 minutes. Always follow the instructions that come with your test strips.
"You may notice the colors start to change within 30 seconds, but it will sometimes take up to two minutes for the results to be ready. If more color changes occur after the first few minutes, disregard them. The longer the urine remains on the test strip, the higher the chance of producing a false result."
If you read the results too early or too late, you may get the wrong answer. Set a timer if you need help keeping track.
| Test Pad | Read Time (seconds) |
|---|---|
| Glucose | 30 |
| Leukocytes | 120 |
| Others | 30-60 |
Reading the Color Chart
After waiting the right amount of time, compare the colors on the Urine Reagent Test Strip to the color chart on the container. Hold the strip close to the chart, but do not let them touch. Match each test pad to the chart to see your results.
Some common mistakes can happen when reading the color chart:
| Type of Error | Description |
|---|---|
| False Positive | Highly alkaline urine (pH > 8.0) can cause a color change unrelated to protein. |
| False Positive | Contamination with strong cleaning agents, like bleach. |
| False Negative | High levels of Vitamin C can hide blood or glucose results. |
| False Positive | Menstrual blood can affect the reading. |
| False Negative | Bilirubin breaks down in light, so keep samples away from sunlight. |
| False Negative | Not enough time in the bladder can lead to missed infections. |
Tip: Good lighting helps you see the colors clearly. If you have trouble matching the colors, ask someone to help or take a photo for reference.
Always follow the instructions for your specific Urine Reagent Test Strip brand. This helps you get the most accurate results.
Interpreting Results
Understanding Test Parameters
When you use a Urine Reagent Test Strip, you check for several important health markers. Each pad on the strip measures something different in your urine. Here are some key parameters you might see:
- Glucose: High levels may point to high blood sugar or diabetes.
- pH value: A number below 5 means your urine is more acidic. A number above 7 may suggest a urinary tract infection.
- Protein: If you see protein, it could mean kidney inflammation.
- Nitrite: This often shows up when you have a urinary tract infection.
- Ketone: High ketones may signal diabetes or problems with blood sugar.
- Bilirubin: This can point to liver issues.
- White blood cells (leukocytes): These may mean you have a urinary infection.
- Red blood cells (erythrocytes): These can show up with kidney or urinary tract infections.
- Specific gravity: This tells you how well your kidneys balance water.
Common Indicators Detected
Most brands of test strips check for these indicators:
- Leukocytes
- Nitrites
- Urobilinogen
- Protein
- pH
- Blood
- Specific gravity
- Ketones
- Bilirubin
- Glucose
You often see results for glucose, protein, pH, ketones, nitrites, leukocytes, and bilirubin. These results help you spot diabetes, kidney problems, urinary tract infections, and liver issues.
When to Seek Medical Advice
You should talk to a healthcare professional if you:
- Have symptoms like frequent or painful urination.
- Notice high glucose or protein levels.
- See abnormal results and feel unwell.
- Are pregnant and see changes in your test results.
- Note: Medications, hydration, and diet can affect your results. Always check with a doctor if you have concerns.
Accuracy Tips and Mistakes to Avoid
Factors Affecting Results
Many things can change your test results. You need to know what can cause mistakes.
- Some medicines and supplements, like high doses of Vitamin C, can hide or change results. For example, Vitamin C can make nitrite tests look normal even if you have an infection.
- If your urine has a high pH or gets contaminated, you might see a false positive for protein.
- Waiting too long to test or touching the test pads can also change the outcome.
- Tip: Always test your urine as soon as possible after collecting it. Wash your hands before you start.
Best Practices for Reliable Testing
You can get the best results by following these steps:
- Store your test strips in a cool, dry, and dark place. The best temperature is between 68°F and 77°F, with humidity below 50%.
- Read the instructions that come with your test strips. Each brand may have special rules.
- Keep desiccant packs in the container to absorb moisture.
- Use airtight containers to keep out air and water.
- Try special storage cases if you want extra protection.
- Note: Good storage and careful handling help you avoid mistakes.
Storing Test Strips
Proper storage keeps your strips accurate and ready to use.
- Keep strips in their original, tightly closed container.
- Store them away from windows, heaters, or places with big temperature changes.
- Protect them from light and moisture.
- Always check the expiration date before using a strip.
If you follow these steps, you can trust your test results and spot health changes early.
Urine reagent test strips make home health checks simple and helpful. For best results, follow these steps:
- Collect a clean midstream sample.
- Dip the strip as instructed.
- Wait the recommended time.
- Compare colors and note results.
| Limitation | Explanation |
|---|---|
| Accuracy issues | Mistakes can cause false results. |
| Sample contamination | Dirty samples change results. |
You gain confidence and control over your health by testing at home. Always talk to your doctor if you see unusual results or feel unwell.
FAQ
Can you reuse a urine reagent test strip?
No, you must use each strip only once. Reusing strips gives you incorrect results and increases the risk of contamination.
What should you do if the strip shows an unclear color?
Check the color under good lighting. If you still cannot match it, repeat the test with a new strip.
Do you need to fast before using a urine reagent test strip?
You do not need to fast. You can test your urine at any time of day.